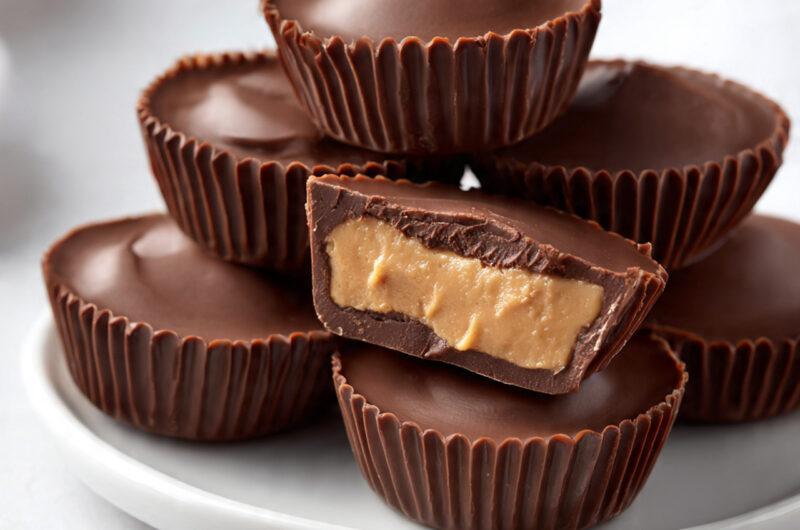
Peanut Butter Cups
Sweet, creamy, and just a little bit rich, peanut butter cups are one of those treats that always feel comforting. They combine smooth chocolate with a soft peanut butter center, creating a simple dessert that feels special without much effort. Many people love making them at home because the ingredients are easy to find and the steps are quick. They’re perfect for quiet evenings, small family desserts, or preparing a sweet snack ahead of time. When I make them, I usually check the chocolate layer carefully to make sure it sets just enough before adding the peanut butter filling.

Why You Will Love This Recipe
Some homemade desserts feel complicated, but this one keeps things refreshingly simple. The combination of chocolate and peanut butter is warm, familiar, and comforting. Each bite brings a smooth texture with just the right balance of sweetness and nuttiness.
These peanut butter cups are also very practical for everyday life. The ingredients are affordable and easy to keep in your pantry. The recipe doesn’t require baking, which means you can prepare a batch even on busy evenings.
Another reason people enjoy this recipe is how flexible it is. You can adjust the sweetness, try different chocolate types, or make mini versions for sharing. They store well in the fridge or freezer, so making them ahead of time is easy. That makes them perfect for quick desserts, snacks, or cozy treats later in the week.
Ingredients
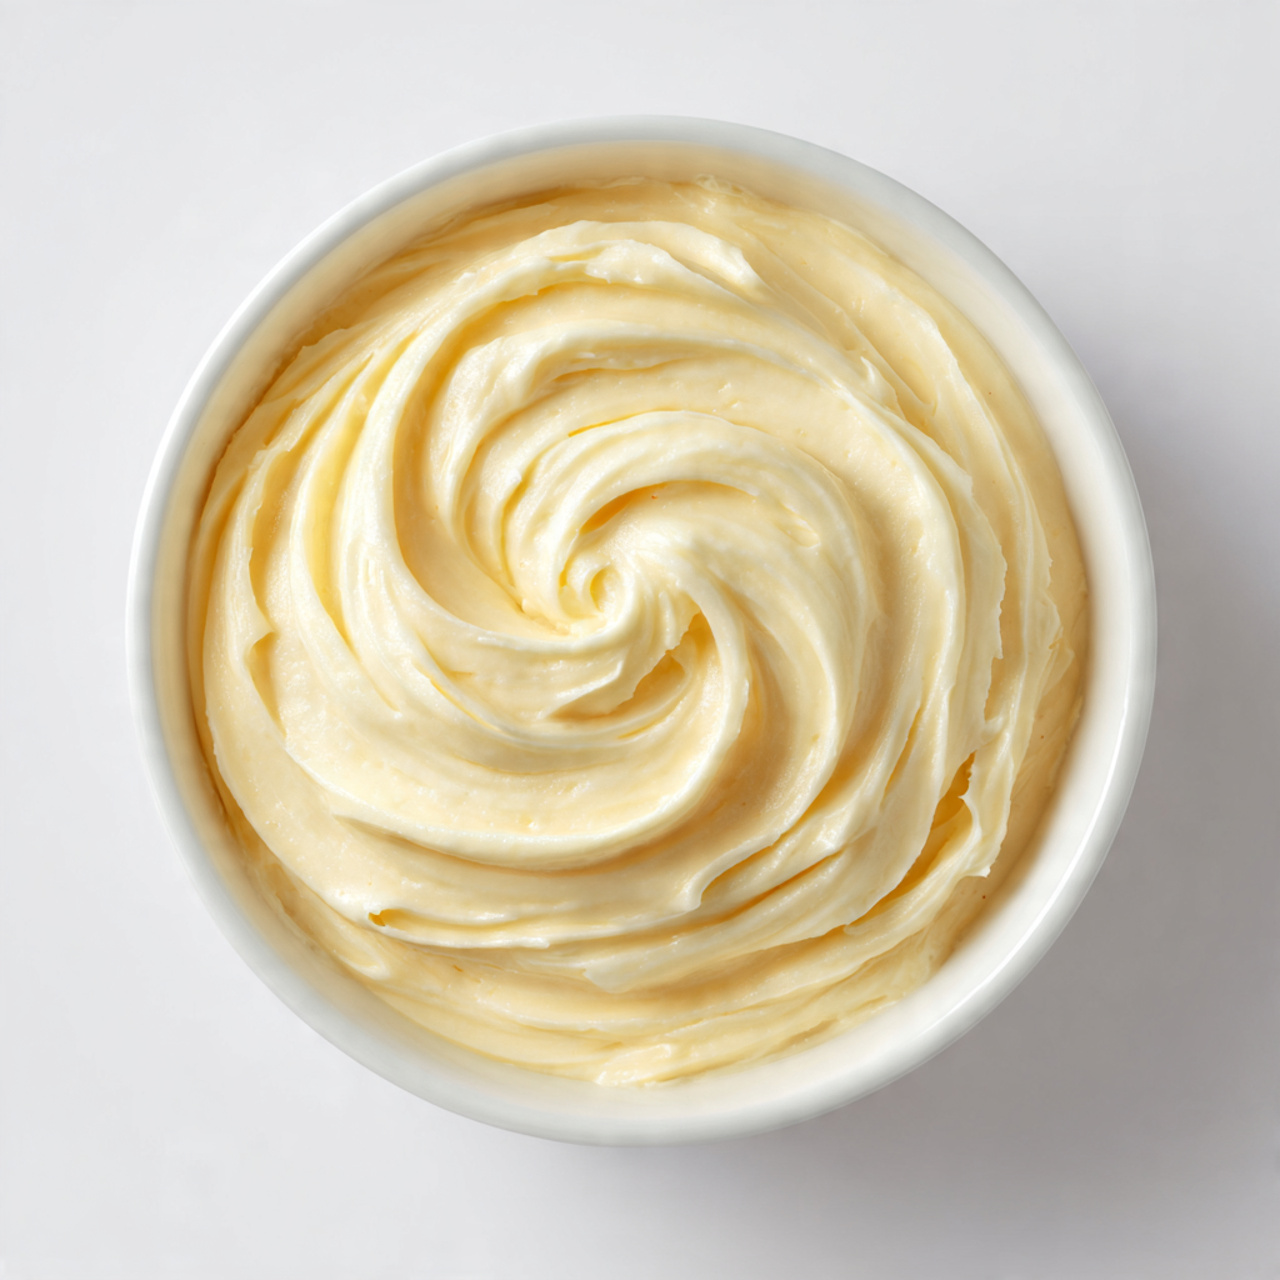
For the best flavor, use creamy peanut butter with a smooth, spreadable texture.
- 1 cup creamy peanut butter
- 1½ cups powdered sugar
- 2 tablespoons melted butter
- 2 cups chocolate chips
- 1 teaspoon vanilla extract
- 1 tablespoon coconut oil or vegetable oil
Instructions
Step 1: Preparation
Line a muffin tin with paper liners and set it aside. Melt the chocolate chips with the coconut oil in a heat-safe bowl, stirring gently until smooth. The chocolate should look glossy and pour easily without any lumps.
Step 2: Main Cooking Process
Spoon a small amount of melted chocolate into each liner, just enough to cover the bottom. Tilt the pan slightly so the chocolate spreads evenly. Place the tray in the refrigerator for a few minutes until the base layer firms up.
Step 3: Combining Ingredients
In a bowl, mix peanut butter, powdered sugar, melted butter, and vanilla extract until smooth and slightly thick. Scoop a small portion of the mixture and flatten it gently before placing it on top of the chilled chocolate layer.
Step 4: Finishing & Final Simmer
Pour another spoonful of melted chocolate over each peanut butter center until fully covered. Gently tap the tray to smooth the tops. Chill in the refrigerator until the chocolate becomes firm and the cups hold their shape.
Why This Recipe Works for Busy Days
This recipe fits easily into a busy routine because it requires very little hands-on time. Most of the work happens during quick mixing and layering. The cups set in the refrigerator, so you can prepare them earlier in the day and enjoy them later. They also store well, making them a convenient treat to keep on hand.
Tips & Tricks
- Use room-temperature peanut butter
Peanut butter mixes more easily when it isn’t cold. If it’s too firm, the filling may become crumbly instead of smooth. Letting it sit at room temperature for a few minutes helps the mixture blend evenly. - Don’t rush the chocolate layers
Allow the bottom chocolate layer to chill before adding the peanut butter filling. If the chocolate is still soft, the filling can sink instead of forming a neat layer. - Melt chocolate slowly
Chocolate can burn quickly if overheated. Melt it gently in short intervals while stirring. Smooth, glossy chocolate will create a clean outer shell for the cups. - Keep the cups chilled
Chocolate desserts hold their shape better when cool. Store the cups in the refrigerator so the layers remain firm and the texture stays smooth.
Variations
Meaty Version
For a playful sweet-and-salty twist, add tiny crumbles of cooked bacon to the peanut butter filling. The salty flavor blends with the chocolate and peanut butter, creating a bold dessert that works surprisingly well for brunch or special treats.
Vegetarian Option
The base recipe is already vegetarian. To add more texture, sprinkle chopped nuts or crushed pretzels on top before the chocolate sets. This adds a little crunch while keeping the sweet and nutty balance.
Ingredient Swap
If peanut butter isn’t available, almond butter or cashew butter can work nicely. The texture remains creamy, and the flavor becomes slightly milder while still pairing beautifully with chocolate.
Flavor or Herb Boost
Add a small pinch of sea salt on top of the chocolate before it sets. This simple touch highlights the sweetness and gives the cups a deeper flavor without changing the recipe much.
Serving Suggestions
- Simple Dessert Plate
Place a few cups on a small dessert plate with sliced bananas or strawberries. The fruit adds freshness and balances the richness of the chocolate and peanut butter. - Coffee Break Treat
Serve one or two cups alongside a warm cup of coffee or tea. The smooth filling pairs nicely with warm drinks and makes a cozy afternoon snack. - Mini Party Dessert
Arrange the cups on a tray for gatherings or casual celebrations. Their small size makes them easy to serve and perfect for sharing. - Ice Cream Topping
Chop the cups into small pieces and sprinkle them over vanilla ice cream. The chocolate shell and creamy filling add texture and sweetness to a simple bowl of dessert.
Storage Instructions
- Fridge Storage
Store the cups in an airtight container in the refrigerator. They will stay fresh for about one week. Keeping them chilled helps maintain the firm chocolate shell and smooth peanut butter filling. - Reheating
These treats usually don’t need reheating. If you prefer a softer texture, leave them at room temperature for a few minutes before eating. - Freezing
Place the cups in a freezer-safe container with parchment between layers. They can stay frozen for up to two months. Thaw in the refrigerator before serving. - Make-Ahead Tips
These are perfect for making ahead of time. Prepare a batch and store them in the fridge so you always have a quick homemade dessert ready.
Recipe Timing
Prep Time: 15 minutes
Cook Time: 5 minutes
Rest Time: 30 minutes
Total Time: 50 minutes
Nutrition Information (Approximate)
Each peanut butter cup contains around 180–220 calories depending on size and ingredients used. Protein ranges between 4–6 grams per serving. Peanut butter contributes healthy fats and small amounts of vitamin E. Nutritional values are estimates and may vary based on ingredients and portion sizes.
FAQs
Can I make these ahead of time?
Yes. They store well in the refrigerator for several days.
Why did my chocolate turn grainy?
Chocolate can overheat quickly. Melt it slowly and stir often.
Can I use crunchy peanut butter?
Yes, it adds extra texture to the filling.
Why is my filling too soft?
Add a little more powdered sugar to thicken the mixture.
How long do they last in the fridge?
They stay fresh for about one week when stored properly.
Can I adjust the sweetness?
Yes, reduce the powdered sugar slightly if you prefer a less sweet filling.
Conclusion
Homemade treats often feel more special because they’re simple and comforting. These peanut butter cups come together with just a few ingredients and a little mixing, yet they create a dessert that feels rich and satisfying. The combination of chocolate and peanut butter never goes out of style, and it’s easy to adjust the recipe to match your taste. Whether you keep them in the fridge for quick snacks or serve them with coffee after dinner, they bring a cozy sweetness to everyday moments.
Peanut Butter Cups
Course: Butter Recipes12
servings15
minutes5
minutes220
kcalCreamy peanut butter filling wrapped in smooth chocolate.
These homemade cups are simple to make and perfect for a quick sweet treat.
Ingredients
1 cup creamy peanut butter
1½ cups powdered sugar
2 tablespoons melted butter
2 cups chocolate chips
1 teaspoon vanilla extract
1 tablespoon coconut oil or vegetable oil
Directions
- Line a muffin tin with paper liners.
- Melt chocolate chips and coconut oil in a bowl until smooth.
- Spoon a small amount of chocolate into each liner and spread it across the bottom.
- Chill the tray in the refrigerator until the chocolate firms.
- Mix peanut butter, powdered sugar, melted butter, and vanilla extract in a bowl.
- Shape small pieces of the mixture and place them on top of the chocolate base.
- Cover each piece with more melted chocolate.
- Refrigerate until the cups are firm.
- Remove from liners and serve.