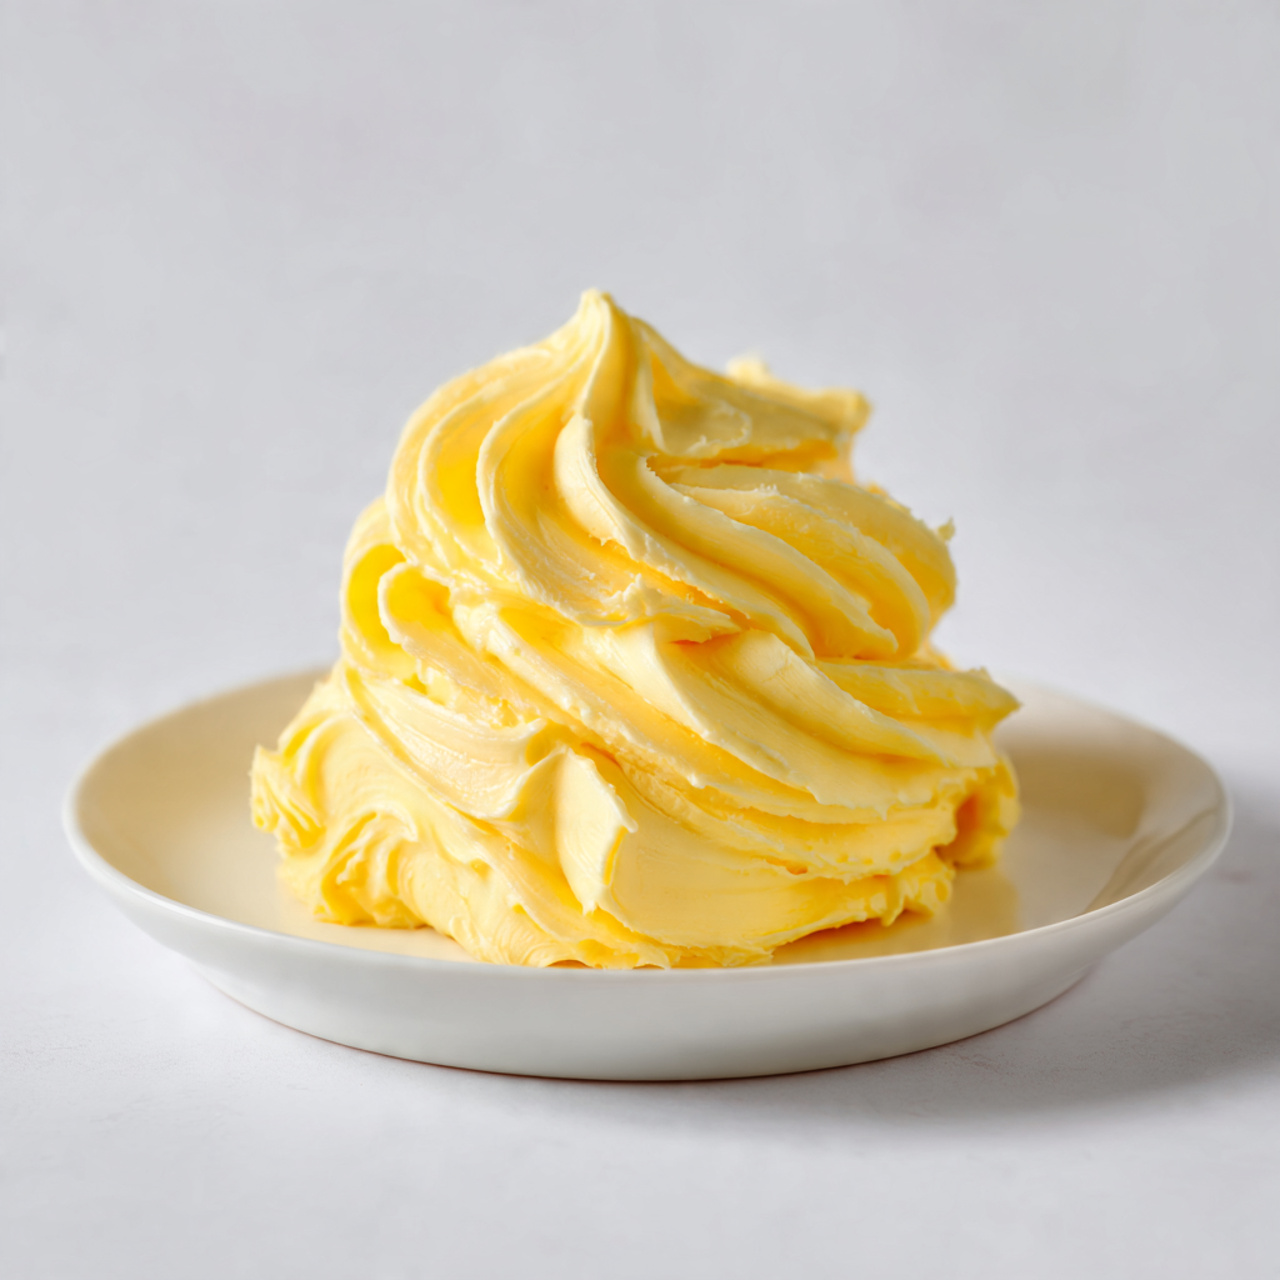
Brown Butter
Brown butter is a simple kitchen staple made by gently cooking butter until it turns golden and develops a rich, nutty aroma. The process transforms ordinary butter into something deeper and warmer in flavor. Many home cooks love using it because it adds comfort and depth to everyday dishes without requiring extra ingredients or complicated steps. A spoonful can elevate pasta, vegetables, baked goods, or even a warm slice of bread. Brown butter feels especially cozy on quiet evenings when a small touch of flavor makes dinner feel more special. I usually keep a small pan nearby while it cooks so I can watch the color slowly change.

Why You Will Love This Recipe
This recipe is incredibly simple but brings a surprising amount of flavor to everyday cooking. With only one ingredient and a few minutes of gentle heat, you can create something that tastes rich, warm, and slightly nutty. The aroma alone fills the kitchen with a cozy feeling that makes cooking more enjoyable.
Brown butter works beautifully in both savory meals and baked treats. It can be stirred into pasta, drizzled over vegetables, or used in cookies and cakes. That flexibility makes it one of those helpful kitchen tricks you can rely on again and again.
Another reason people love this recipe is its convenience. It takes only a few minutes to prepare and stores well in the refrigerator or freezer. You can make a small batch ahead of time and add it to different dishes throughout the week whenever a little extra flavor is needed.
Ingredients
Tip: Use unsalted butter for better control over the final flavor.
• 1 cup unsalted butter
Instructions
Step 1: Preparation
Place a light-colored saucepan or skillet on the stove. Cut the butter into small pieces so it melts evenly. Keeping the pieces similar in size helps the butter heat gently and allows you to watch the color change clearly.
Step 2: Main Cooking Process
Add the butter to the pan and melt it over medium heat. As it melts, small bubbles will appear on the surface. Stir gently and watch as the butter begins to foam while the milk solids slowly settle at the bottom.
Step 3: Combining Ingredients
Continue stirring while the butter cooks. The foam will begin to thin, and small golden specks will appear in the pan. The aroma becomes warm and nutty, and the liquid butter slowly turns from pale yellow to a soft golden shade.
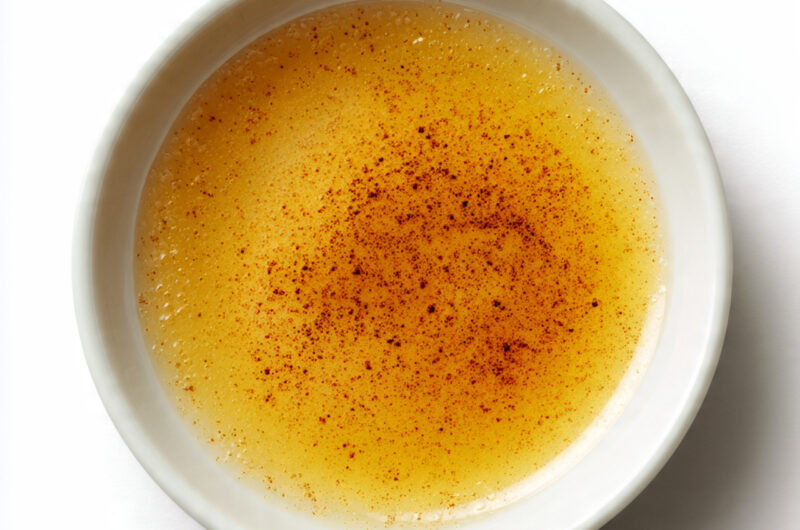
Step 4: Finishing & Final Simmer
Once the butter reaches a deep golden color and smells toasted, remove the pan from heat immediately. Pour the butter and the golden bits into a heatproof bowl so it stops cooking and keeps its smooth, nutty flavor.
Why This Recipe Works for Busy Days
This recipe works well on busy days because it takes only a few minutes and requires almost no preparation. While other parts of a meal cook, you can quickly prepare it in a small pan. Once made, it can be stored and used later in pasta, vegetables, or baking recipes. Many home cooks like making a small batch ahead of time and keeping it ready in the refrigerator so it is always available when needed.
Tips & Tricks
• Use a light-colored pan when cooking the butter. Dark pans make it difficult to see the color change, which can lead to burning. A lighter surface allows you to clearly watch the butter move from pale yellow to a golden shade.
• Stir gently but consistently while the butter cooks. The small milk solids at the bottom of the pan are what create the nutty flavor. Moving them around prevents them from sticking or burning before the butter reaches the right color.
• Remove the pan from heat as soon as the butter becomes golden and aromatic. The heat in the pan continues cooking it even after it is removed from the stove, so acting quickly keeps the flavor warm and nutty rather than bitter.
• Pour the butter into a separate bowl right away. Leaving it in the hot pan may darken the solids too much. Transferring it stops the cooking process and keeps the flavor balanced.
Variations
Meaty Version
Use the butter as a base for quickly sautéing small pieces of chicken or shrimp. The nutty flavor blends beautifully with simple seasonings and adds warmth to the meat without needing many extra ingredients.
Vegetarian Option
Drizzle it over roasted vegetables such as carrots, potatoes, or squash. The golden butter coats the vegetables and highlights their natural sweetness, creating a simple vegetarian dish with comforting flavor.
Ingredient Swap
If you prefer a dairy alternative, plant-based butter can be used. The flavor will be slightly different but still develops a deeper, toasted aroma when gently cooked in the same way.
Flavor Boost
Add a pinch of crushed garlic, sage leaves, or thyme during the last minute of cooking. The herbs gently infuse the butter and create a warm, aromatic finish that pairs nicely with pasta or bread.
Serving Suggestions
Over Pasta
Toss warm pasta with a spoonful of this butter and a sprinkle of grated cheese. The sauce lightly coats the noodles and adds a warm, nutty flavor that feels comforting and simple.
With Roasted Vegetables
Drizzle the butter over roasted vegetables just before serving. The golden sauce adds richness and helps bring together the sweet and slightly crisp edges of roasted produce.
On Fresh Bread
Spread a small spoonful over warm bread or dinner rolls. The butter melts instantly and fills the bread with a toasted, nutty aroma that feels cozy and satisfying.
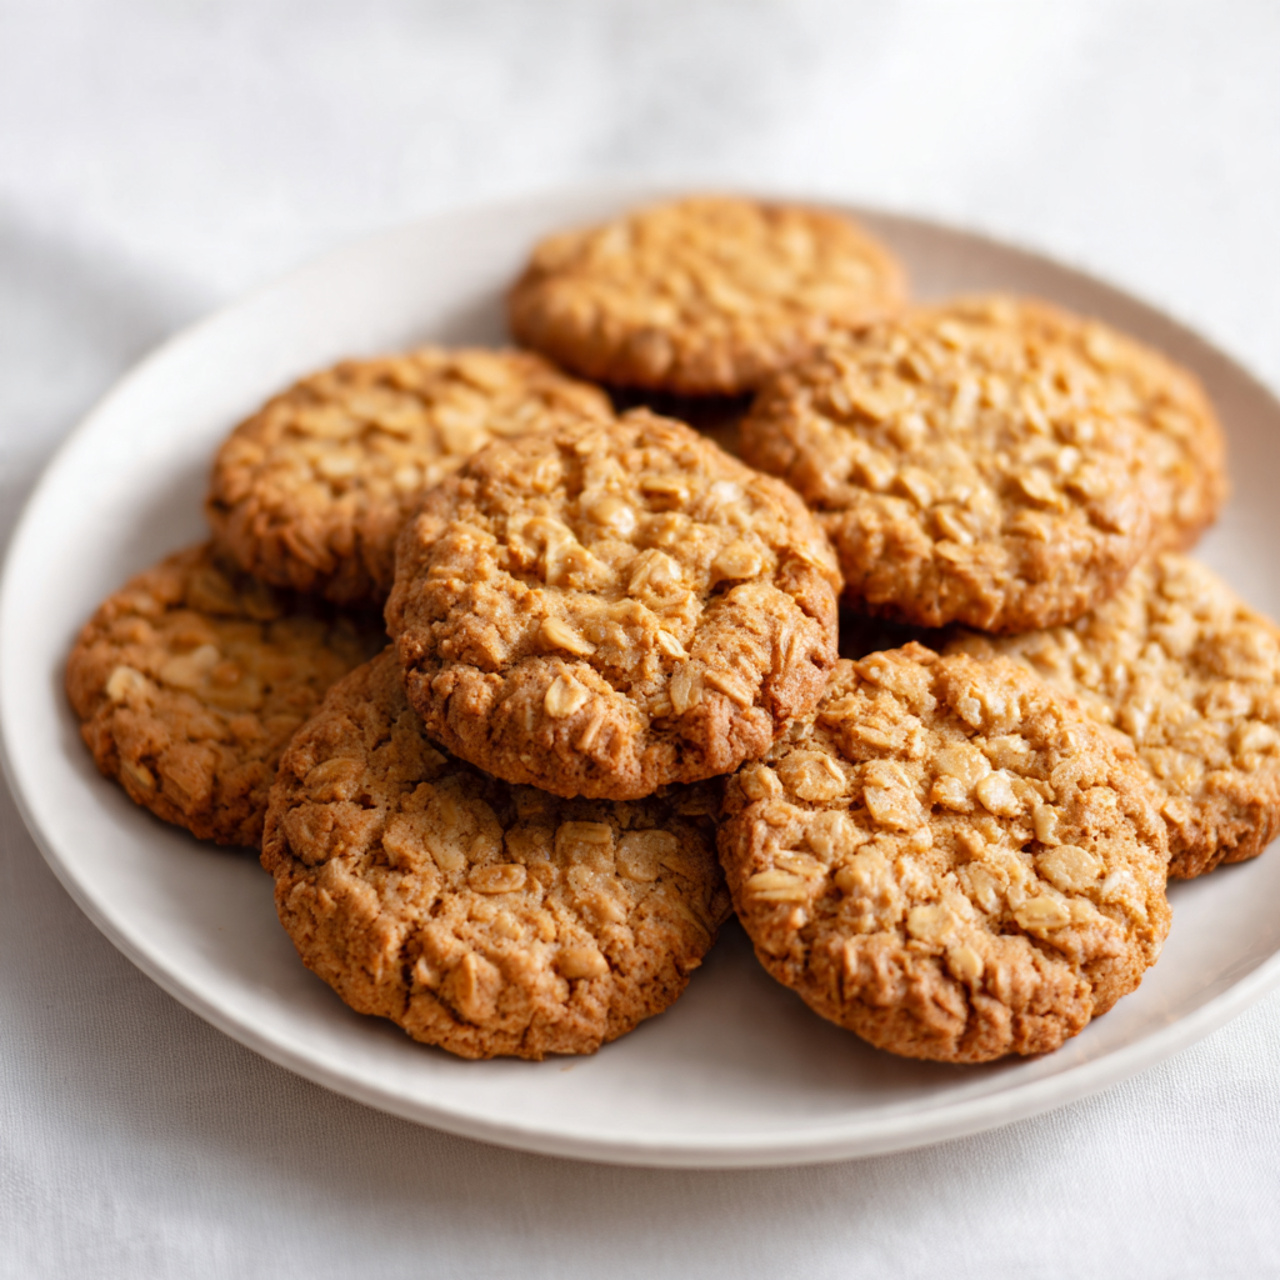
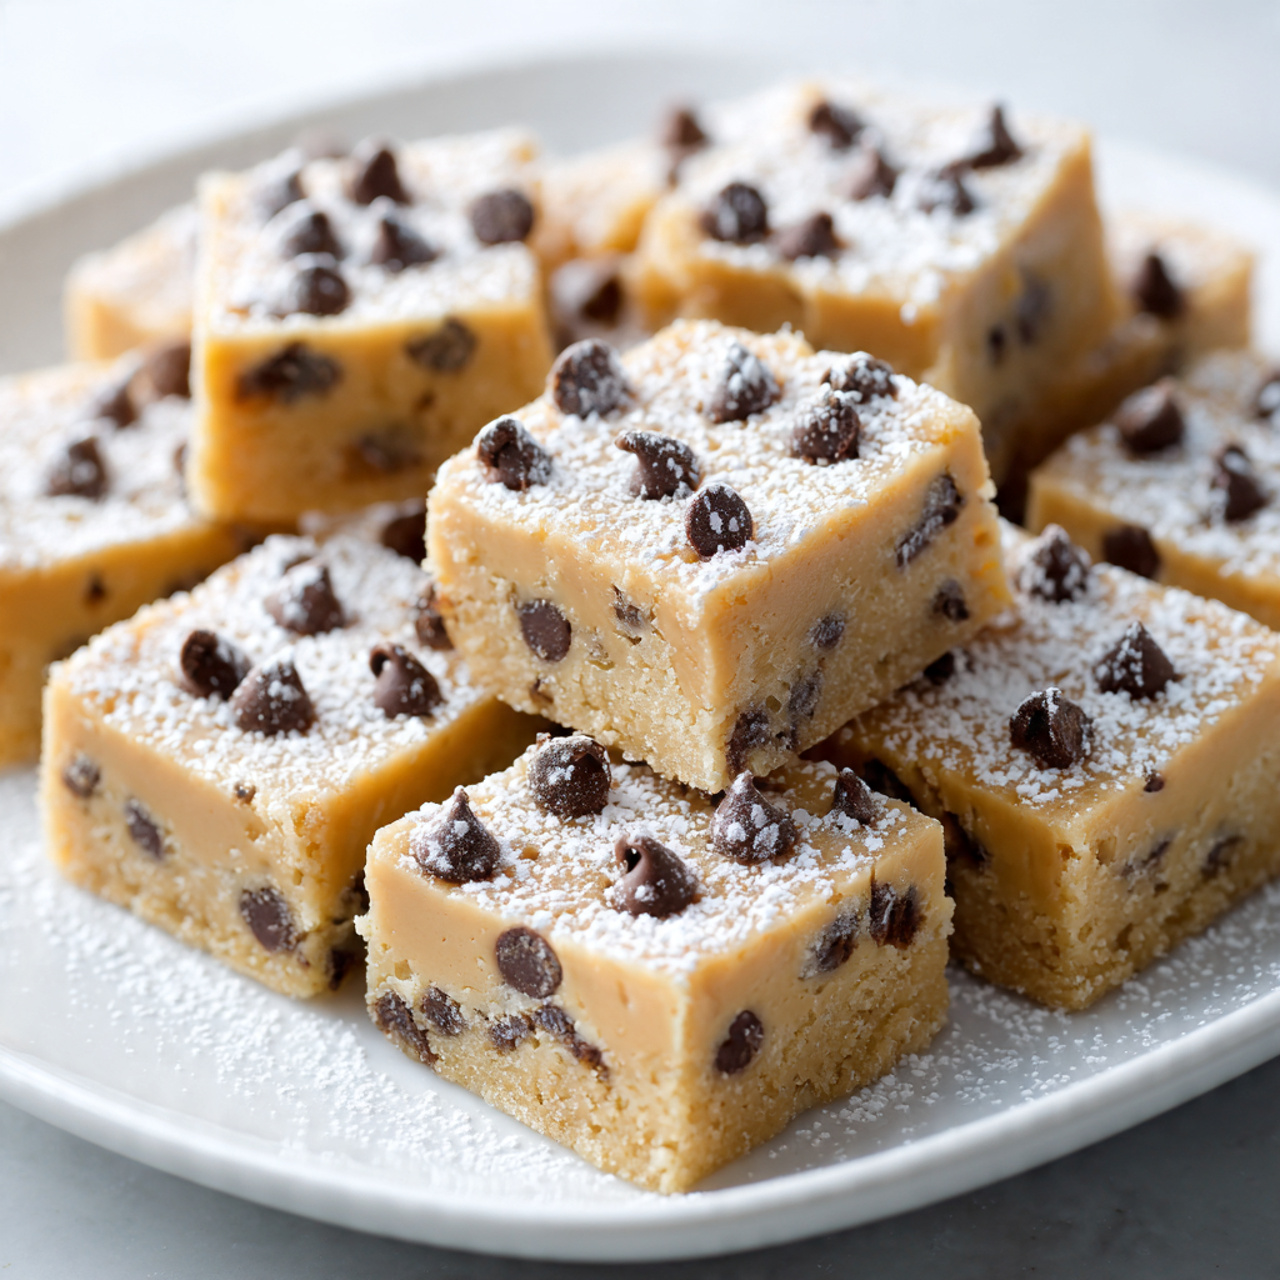
For Baking
Use it in cookie or cake recipes instead of regular melted butter. The deeper flavor gives baked treats a warm and slightly caramel-like taste.
Storage Instructions
Fridge Storage
Allow the butter to cool completely before transferring it to a clean airtight container. Store it in the refrigerator for up to one week. As it chills, it will firm up slightly but still melt easily when warmed.
Reheating
To use again, gently warm the butter in a small pan over low heat or in short microwave bursts. Heat slowly so the butter melts smoothly without burning the toasted solids.
Freezing
You can freeze it in small portions using an ice cube tray. Once frozen, transfer the cubes to a freezer-safe container and store for up to two months. This makes it easy to use small amounts when cooking.
Make-Ahead Tips
Preparing a batch at the start of the week can make everyday cooking easier. Keep it chilled in the refrigerator and simply melt a spoonful whenever you need extra flavor in a dish.
Recipe Timing
Prep Time: 2 minutes
Cook Time: 6 minutes
Rest Time: 2 minutes
Total Time: 10 minutes
Nutrition Information (Approximate)
A tablespoon typically contains around 100–120 calories depending on the butter used. Protein is minimal, usually less than 1 gram. Butter also provides small amounts of vitamin A and healthy fats. Nutritional values are estimates and may vary depending on ingredient brands and portion sizes.
FAQs
Can I make this ahead of time?
Yes. It can be prepared in advance and stored in the refrigerator for several days.
What is the most common mistake?
Cooking the butter too long. This can make the solids burn and create a bitter taste.
Can I use salted butter?
Yes, but the flavor will be slightly saltier. Unsalted butter gives better control over seasoning.
Why does the butter look cloudy?
This usually happens when it cools. The texture becomes clear again when gently reheated.
How long can it stay in the fridge?
It usually stays fresh for about one week when stored in a sealed container.
How can I adjust the flavor?
You can add herbs, garlic, or a squeeze of lemon while the butter finishes cooking.
Conclusion
Simple cooking techniques often become the most useful ones in the kitchen. Brown butter is a perfect example because it turns a basic ingredient into something warm, nutty, and deeply flavorful with only a few minutes of cooking. Once you learn the process, it becomes easy to add to pasta, vegetables, baked goods, and many everyday meals. The method is quick, flexible, and easy to repeat whenever you want a small boost of flavor. After trying brown butter a few times, it naturally becomes one of those comforting little tricks that makes home cooking feel richer and more satisfying.
Brown Butter
Course: Butter Recipes8
servings2
minutes6
minutes110
kcalA rich, nutty butter made by gently cooking regular butter until golden. It adds deep flavor to pasta, vegetables, bread, and baked goods with only one ingredient.
Ingredients
1 cup unsalted butter
Directions
- Cut the butter into small pieces.
- Place the butter in a light-colored saucepan over medium heat.
- Allow the butter to melt completely while stirring gently.
- Watch as the butter foams and small golden bits appear at the bottom.
- Continue stirring until the butter turns a warm golden color and smells nutty.
- Remove the pan from heat immediately.
- Pour the butter into a bowl to stop the cooking.
- Use immediately or store for later.