How to Make Butter
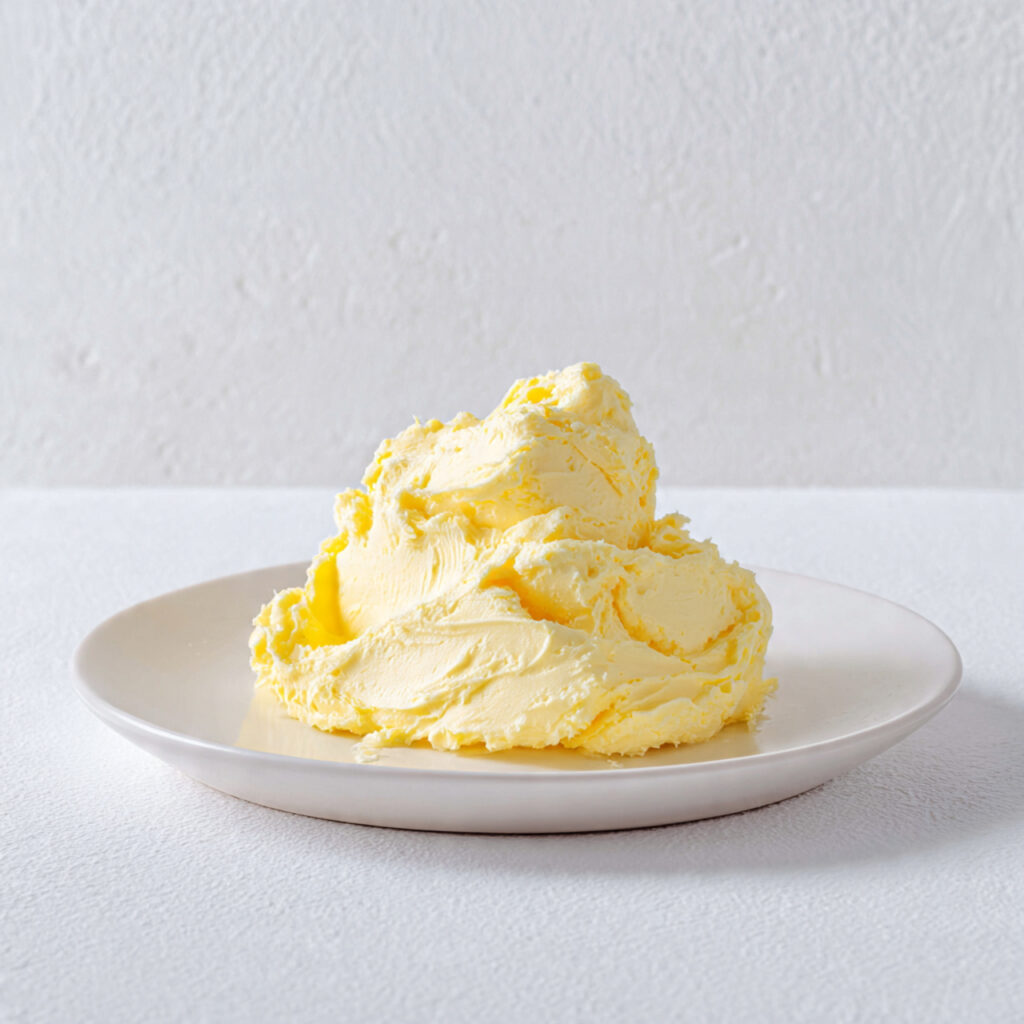
Making butter at home is a simple, satisfying process that turns cream into a rich, creamy spread you can enjoy right away. This how to make butter guide is loved because it’s comforting, hands-on, and perfect for busy evenings or cozy family meals. I usually start with chilled cream and let it come together while prepping other kitchen tasks. Fresh butter has a soft, spreadable texture and a gentle, sweet flavor that makes even plain bread feel special. It’s a small project that adds a lot of warmth to your home cooking routine.
Why You Will Love This Recipe
You’ll enjoy this because it’s both easy and versatile. Homemade butter tastes fresher and cleaner than store-bought options, and you can adjust the salt or flavorings to your preference. This recipe is weeknight-friendly since it takes little active time, and it’s budget-friendly when you have cream on hand. Butter can also be made in larger batches, portioned, and stored in the fridge or freezer, making it freezer-friendly for weeks ahead. It’s a crowd-pleasing addition to breakfasts, snacks, and dinners, and the process itself is relaxing—perfect for anyone who enjoys seeing simple ingredients transform into something delicious.
Ingredients
Tip: Use heavy cream for the richest flavor and easiest results.
- Heavy cream – 2 cups
- Salt – ½ teaspoon (optional)
- Ice water – 2 tablespoons
Instructions
Step 1: Preparation (about 40 words)
Pour the cream into a large mixing bowl or stand mixer. Make sure the cream is cold, as this helps it whip more easily. Keep your tools ready, including a spatula and a small bowl of ice water.
Step 2: Main Cooking Process (about 40 words)
Whip the cream on medium-high speed. First, it will form soft peaks, then stiff peaks. Keep going past the whipped cream stage until the mixture separates into a yellow solid (butter) and liquid (buttermilk).
Step 3: Combining Ingredients (about 40 words)
Spoon the butter into a bowl and pour off the buttermilk. Knead gently with a spatula or your hands, rinsing with cold ice water a few times until the water runs clear. Add salt if desired and mix well.
Step 4: Finishing & Final Simmer (about 40 words)
Shape the butter into a small block or ball. Pat dry with a paper towel to remove excess water. The butter is now ready to use immediately or store. Enjoy the fresh, creamy texture on bread, vegetables, or in recipes.
Why This Recipe Works for Busy Days
This recipe works for busy schedules because it’s hands-off once the whipping begins. You can prepare other meals while the butter forms. It’s easy to make ahead, stores well, and provides a fresh, flavorful ingredient ready for toast, cooking, or baking without extra effort during the week.
Tips & Tricks
- Keep cream very cold; warm cream won’t separate easily, which slows the butter-making process and can make it grainy.
- Don’t overmix after rinsing. Too much kneading squeezes out flavor and can change the texture. Gentle handling preserves creaminess.
- Use ice water for rinsing. This prevents the butter from becoming too soft and helps remove leftover buttermilk for longer shelf life.
- Salt gradually. Tasting as you go ensures the butter is flavorful without being too salty, letting you adjust for personal preference.
Variations
- Meaty version: Stir a small amount of herb butter into cooked chicken or beef before serving. It melts, creating a rich, slightly seasoned topping.
- Vegetarian option: Use butter in vegetable sautés or grain bowls for a rich, creamy texture that elevates plant-based meals without extra oils.
- Ingredient swap: Use cultured cream or add a spoon of yogurt to the cream for tangy, cultured-style butter with deeper flavor.
- Flavor or herb boost: Mix in garlic, fresh herbs, or honey after rinsing. This adds a custom flavor twist for spreads, baking, or finishing dishes.
Serving Suggestions
- Bread topping: Spread fresh butter on warm toast or rolls for breakfast or snacks.
- Cooking helper: Use butter to sauté vegetables or melt over grains for extra richness.
- Finishing touch: Add a pat on hot pasta, potatoes, or roasted vegetables for cozy family meals.
- Snack enhancer: Serve with fresh fruit, crackers, or simple cheese for a quick, satisfying snack board.
Storage Instructions
- Fridge storage: Store in an airtight container for up to two weeks. Keep away from strong-smelling foods.
- Reheating: Butter doesn’t require reheating but can be softened at room temperature for spreading.
- Freezing: Freeze in small portions for up to six months. Wrap tightly to prevent freezer odor absorption.
- Make-ahead tips: Make in larger batches and portion into molds. Rinse thoroughly to remove buttermilk, helping it last longer in storage.
Recipe Timing
Prep Time: 5 minutes
Cook Time: 10 minutes (whipping and rinsing)
Rest Time: None required
Total Time: 15 minutes
Nutrition Information (Approximate)
Per 2-tablespoon serving: 200 calories, 0–1 gram protein, 22 grams fat. Contains small amounts of vitamin A. Values are estimates and may vary depending on cream type and added salt.
FAQs
Can I make this ahead?
Yes, homemade butter can be stored in the fridge or freezer for later use.
What’s a common mistake?
Using warm cream slows separation and may make the texture grainy.
Can I use low-fat cream?
No, butter forms best with heavy cream for proper fat content.
Why is my butter soft or watery?
Rinse well with ice water to remove all buttermilk and chill if necessary.
How long does it last?
Up to two weeks in the fridge or six months in the freezer.
Can I flavor it?
Yes, add salt, herbs, garlic, or honey after rinsing for custom flavor.
Conclusion
Learning how to make butter is a simple, satisfying kitchen skill that adds freshness to everyday meals. Once you try it, you can customize the flavor, make it in larger batches, and use it immediately or store it for later. From toast to cooking to cozy family meals, homemade butter turns simple ingredients into something warm, rich, and versatile—making your time in the kitchen both enjoyable and rewarding.
How to Make Butter
Course: Butter Recipes10
servings5
minutes10
minutes200
kcalTurn heavy cream into fresh, creamy butter with a few simple steps. Perfect for spreading, cooking, and adding flavor to everyday meals.
Ingredients
Heavy cream – 2 cups
Salt – ½ teaspoon (optional)
Ice water – 2 tablespoons
Directions
- Pour cold cream into a large bowl or mixer.
- Whip until solids separate from liquid.
- Drain buttermilk and knead butter, rinsing with ice water.
- Add salt if desired. Shape and store or use immediately.