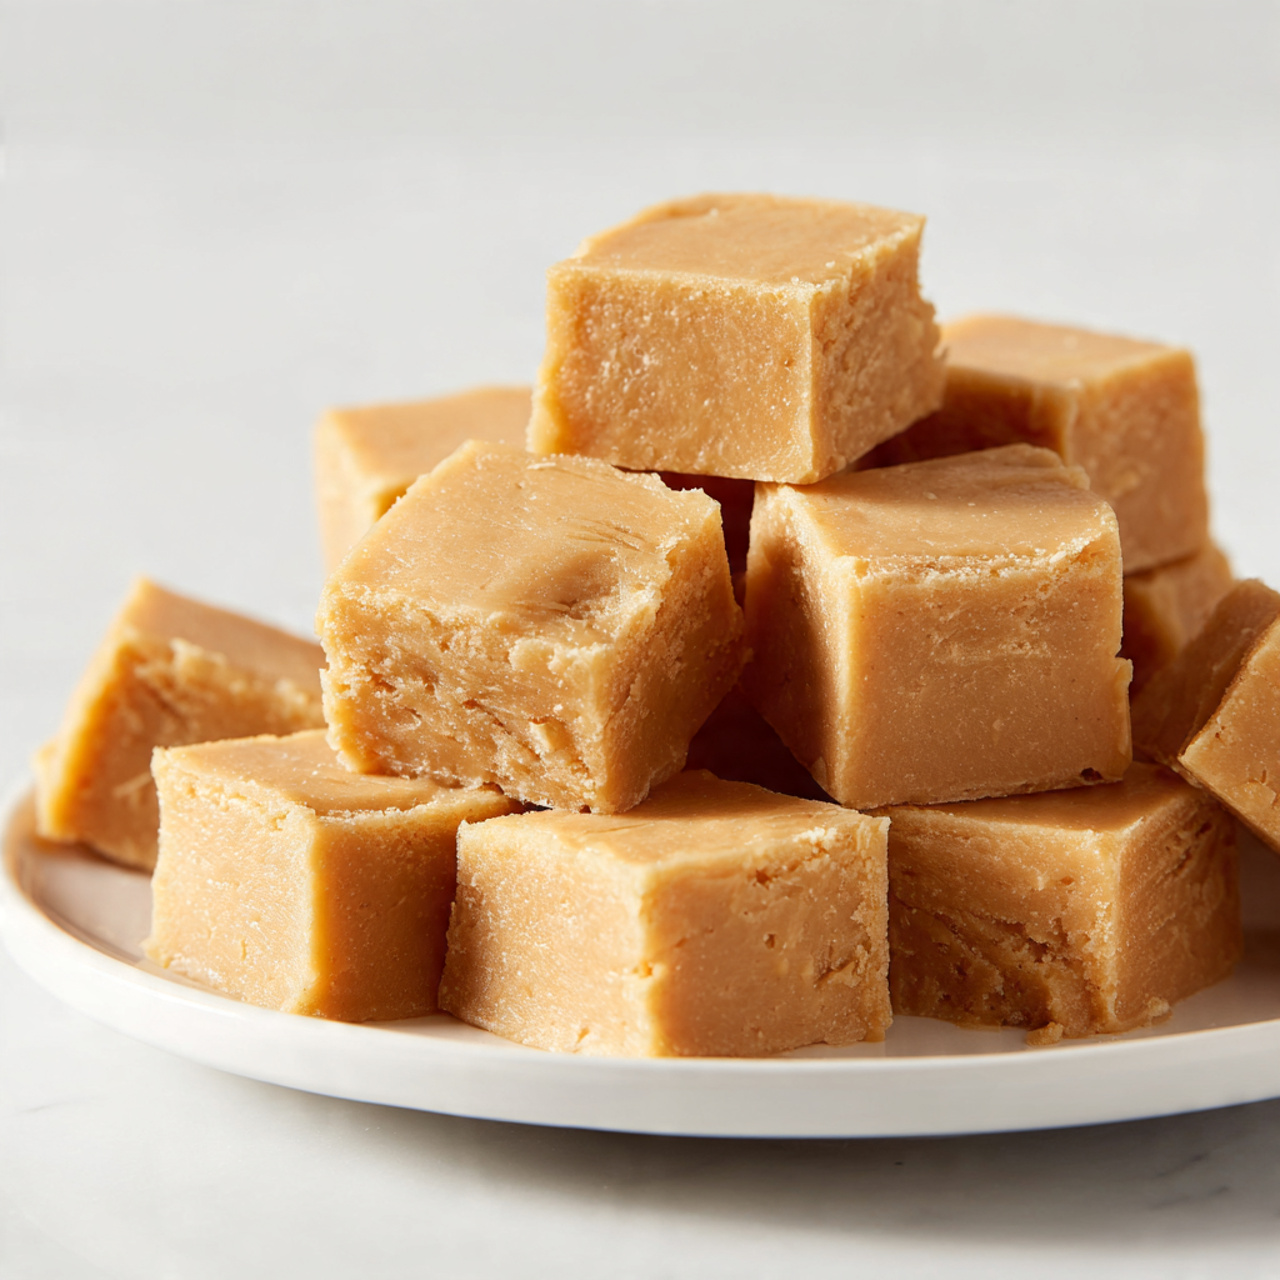
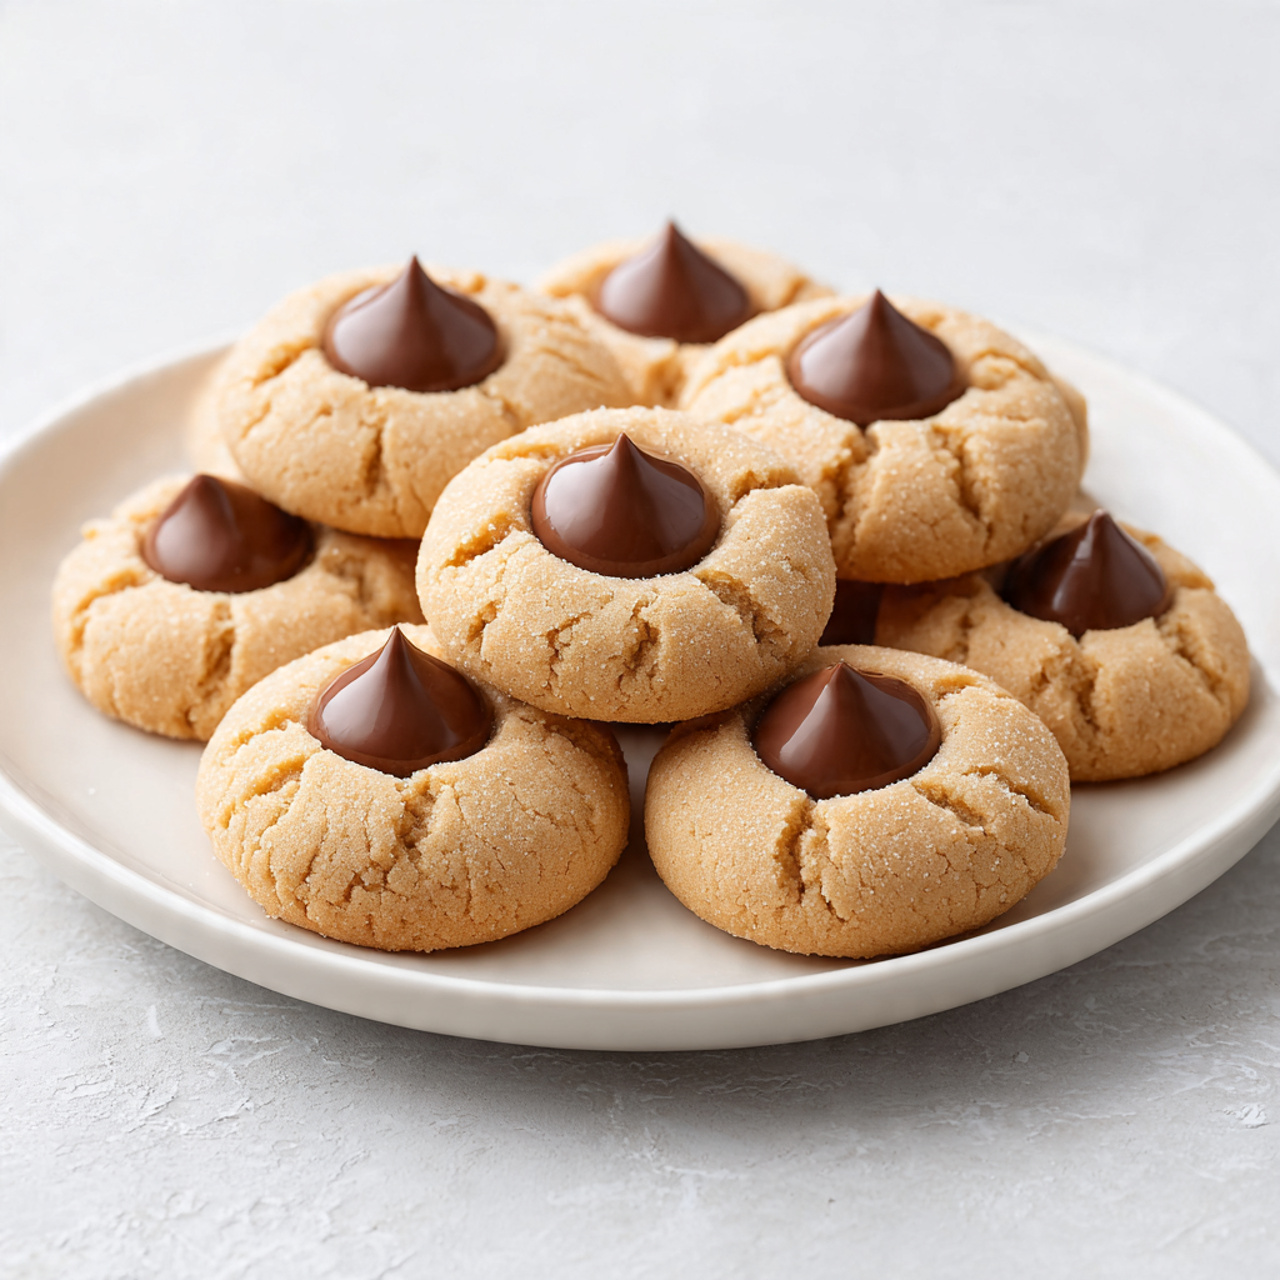
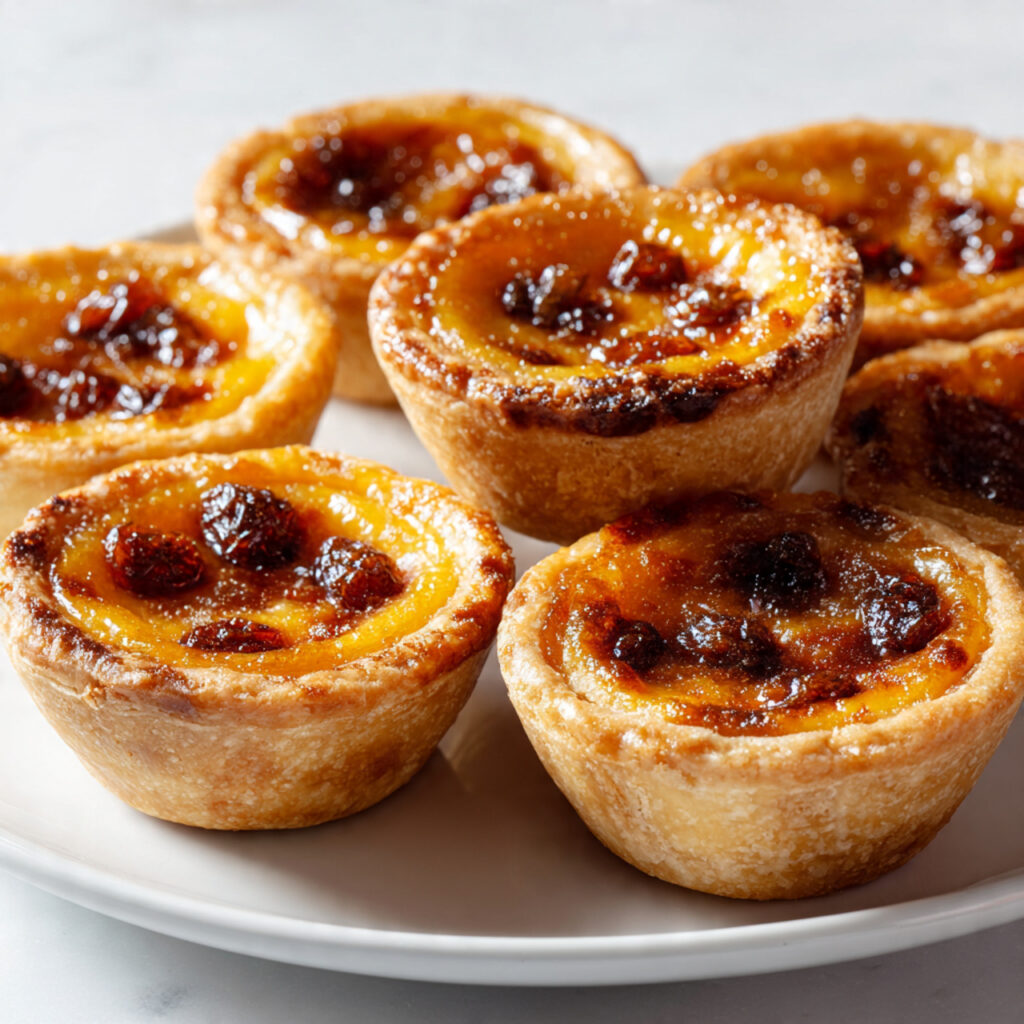
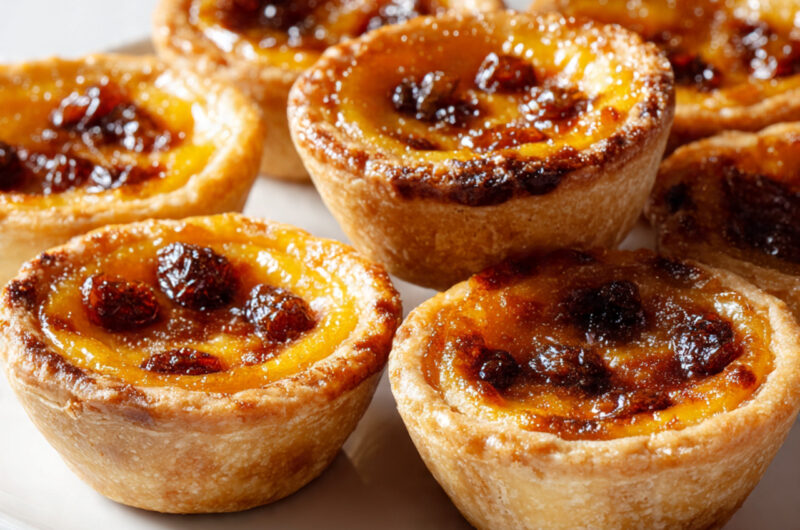
Butter Tarts
Butter tarts are small, cozy pastries with flaky shells and soft, gooey centers that feel like pure comfort. They’re loved for their simple ingredients, warm sweetness, and that familiar home-baked smell that fills the kitchen. Butter tarts fit easily into busy evenings, weekend baking, or quiet family moments when something sweet feels just right. They don’t require fancy tools or advanced skills, which makes them friendly for everyday baking. I usually reach for this recipe when I want a calm, reliable dessert that feels special without extra effort. They’re easy to share, easy to store, and always feel worth saving for later.
Why You Will Love This Recipe
This recipe keeps things simple and comforting. The filling is rich and soft, the pastry stays tender, and the flavor feels familiar in the best way. It’s cozy, crowd-pleasing, and works well for casual gatherings or everyday treats. You don’t need complicated steps, which makes it weeknight-friendly even for beginner bakers. The ingredients are budget-friendly and flexible, so you can adjust sweetness or texture easily. Butter tarts also store well, making them freezer-friendly and perfect for baking ahead. Whether you enjoy them fresh or later in the week, they stay satisfying without extra fuss or planning.
Ingredients
Tip: Use cold butter for the pastry to keep it flaky.
- 1½ cups all-purpose flour
- ½ cup cold butter, cubed
- ¼ teaspoon salt
- 3–4 tablespoons cold water
- ½ cup butter, melted
- 1 cup brown sugar
- 2 eggs
- 1 teaspoon vanilla extract
- ¼ teaspoon salt
Instructions
Step 1: Preparation
Mix flour and salt in a bowl. Rub in cold butter until the mixture looks crumbly. Add cold water slowly until the dough comes together. Wrap and chill briefly so it rolls easily without sticking.
Step 2: Main Cooking Process
Roll out the dough and cut into rounds. Press gently into a muffin tray, forming small shells. They should feel thin but sturdy, with edges slightly higher than the center.
Step 3: Combining Ingredients
In a bowl, whisk melted butter, brown sugar, eggs, vanilla, and salt until smooth. The mixture should look glossy and slightly thick, with no visible sugar lumps remaining.
Step 4: Finishing & Final Simmer
Pour the filling into each shell, leaving a little space at the top. Bake until the centers look set but still soft. Cool slightly so the filling firms up gently.
Why This Recipe Works for Busy Days
This recipe is easy to break into steps and doesn’t need constant attention. You can prepare the dough ahead of time and bake later when needed. Butter tarts keep well, making them great for meal prep baking. For Pinterest users saving ideas to try later, this recipe feels calm, doable, and reassuring.
Tips & Tricks
- Don’t overfill the shells: The filling puffs slightly while baking. Leaving a small gap prevents overflow and keeps the tarts neat and easy to remove from the tray.
- Chill the dough briefly: Warm dough can shrink in the oven. A short chill helps the shells keep their shape and stay flaky instead of soft.
- Mix filling gently: Over-mixing can add air bubbles. Stir just until smooth so the centers bake evenly and stay soft.
- Watch the bake time: Overbaking can turn the filling firm. Remove the tarts when the center still jiggles slightly for the best texture.
Variations
Meaty Version
Add a small amount of cooked bacon bits to each tart before pouring in the filling. The salty pieces balance the sweetness and create a richer, more filling treat without changing the baking method.
Vegetarian Option
Add chopped nuts like walnuts or pecans for extra texture. They blend naturally with the sweet filling and give a gentle crunch while keeping everything simple and home-friendly.
Ingredient Swap
Swap brown sugar with half maple syrup and half sugar. This creates a softer sweetness and slightly looser filling while keeping the familiar flavor profile intact.
Flavor or Herb Boost
Add a pinch of cinnamon or nutmeg to the filling. It warms the flavor without overpowering the buttery base and keeps the tarts cozy and inviting.
Serving Suggestions
- With Tea or Coffee
Serve warm butter tarts alongside a hot drink. The soft filling pairs naturally with simple beverages for relaxed evenings or quiet mornings. - Dessert Plate Treat
Add a tart to a dessert plate with fresh fruit. It balances the sweetness and makes the serving feel thoughtful without extra baking. - Family-Style Platter
Arrange them on a plate in the center of the table. They’re easy to grab and share, perfect for casual family moments. - Lightly Warmed
Warm briefly before serving to bring back the soft center. This makes leftovers feel freshly baked again.
Storage Instructions
- Fridge Storage
Store in an airtight container in the fridge for up to four days. Let them cool fully before storing to keep the filling set and the pastry tender. - Reheating
Reheat gently in the oven or microwave. Warm just until soft; overheating can make the filling too firm. - Freezing
Freeze baked tarts in a sealed container for up to two months. Thaw in the fridge and warm lightly before serving. - Make-Ahead Tips
You can prepare the pastry and filling a day ahead. Assemble and bake when ready for fresh results with less effort.
Recipe Timing
Prep Time: 25 minutes
Cook Time: 20 minutes
Rest Time: 10 minutes
Total Time: 55 minutes
Nutrition Information (Approximate)
Each tart contains approximately 220–260 calories with 3–5 grams of protein. They provide carbohydrates from sugar and flour and fats from butter. Values are estimates and may vary depending on portion size and ingredients used.
FAQs
Can I make these ahead of time?
Yes, they store well and can be baked a day ahead.
What’s a common mistake?
Overfilling the shells can cause spills.
Can I change the sugar?
Yes, partial swaps work well.
Why is my filling too firm?
They may have baked too long.
How should I store leftovers?
Keep them sealed in the fridge.
Can I adjust sweetness?
Yes, slightly reduce sugar if preferred.
Conclusion
These little pastries are meant to feel warm, simple, and flexible. You can keep them classic or adjust the filling to suit your taste without stress. Butter tarts are easy to bake ahead, easy to share, and easy to return to whenever you want something comforting. Whether you enjoy them fresh from the oven or later in the week, they bring that calm, homemade feeling that makes baking feel rewarding and relaxed.
Butter Tarts
Course: Butter Recipes12
servings25
minutes20
minutes240
kcalFlaky pastry filled with a soft, buttery, sweet center.
A cozy homemade dessert made with simple ingredients.
Ingredients
1½ cups all-purpose flour
½ cup cold butter
¼ teaspoon salt
3–4 tablespoons cold water
½ cup butter, melted
1 cup brown sugar
2 eggs
1 teaspoon vanilla extract
¼ teaspoon salt
Directions
- Mix flour and salt. Cut in cold butter.
- Add water and form dough. Chill briefly.
- Roll dough and line muffin tray.
- Mix filling ingredients until smooth.
- Fill shells and bake until softly set.